Your roof is one of the most critical components of your home’s structure, protecting you and your belongings from the elements. However, wear and tear can occur over time, leading to potential damage that may compromise its integrity. Regular inspections are essential to catch any issues early on and prevent costly repairs. Here are some steps to inspect your roof for damage safely to ensure its longevity and peace of mind.
Step 1: Safety First
Before you even set foot on your roof, prioritize safety. Wear sturdy shoes with good traction, use a sturdy ladder, and consider using a safety harness. Additionally, be mindful of the weather conditions. Avoid inspecting your roof during rain, strong winds, or icy conditions to prevent accidents.
Step 2: Exterior Inspection
Start by examining your roof from the ground. Look for any visible signs of damage such as missing or damaged shingles, sagging areas, or wear and tear. Use binoculars to get a closer look, but avoid climbing onto the roof at this stage.
Step 3: Check for Leaks
Inspect your attic for any signs of water leaks or damage. Look for stains on the ceiling or walls, mold or mildew growth, and any signs of water infiltration. Addressing leaks promptly can prevent further damage to your roof and the interior of your home.
Step 4: Clear Debris
Remove debris such as leaves, branches, or moss from your roof. These can trap moisture and cause damage over time, leading to issues like rot or mold growth. Use a broom or leaf blower to clear the roof surface gently, being careful not to damage the shingles.
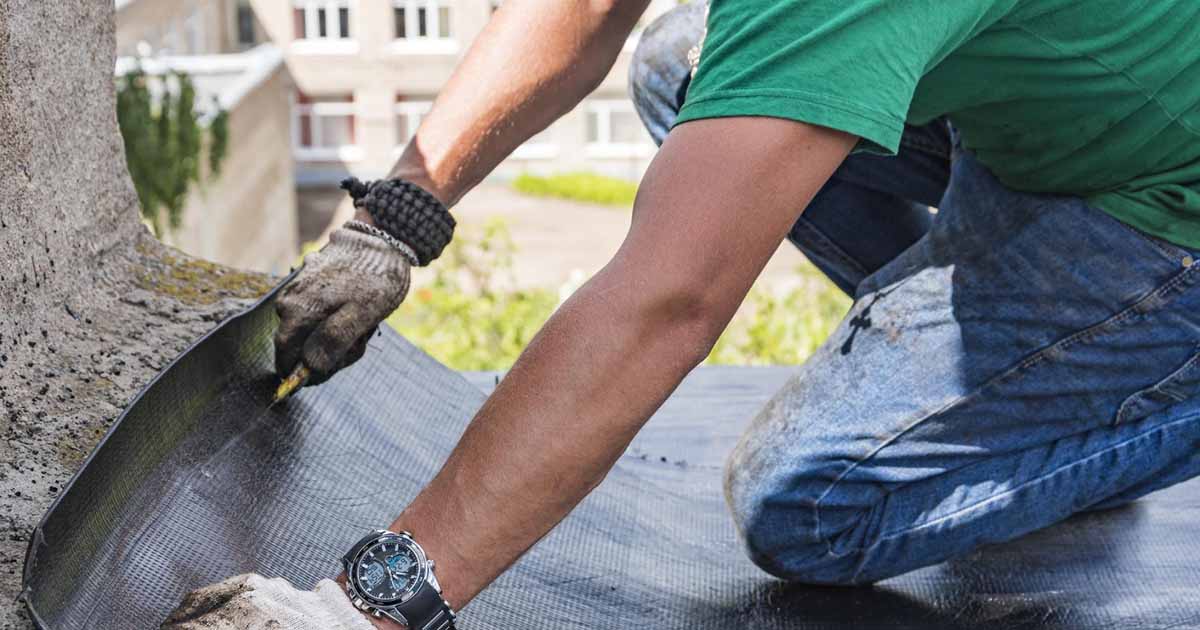
Step 5: Inspect Flashing and Sealants
Check the flashing around chimneys, vents, skylights, and other roof penetrations for signs of damage or deterioration. Ensure that sealants are intact and free of cracks, as these can allow water to seep into your home. Replace any damaged flashing or sealants to maintain a watertight seal.
Step 6: Assess Shingles
Carefully inspect your shingles for any signs of damage, such as cracks, curling, or missing pieces. Pay attention to areas where shingles overlap, as these are common spots for leaks. Replace any damaged shingles promptly to prevent further issues.
Step 7: Check Gutters and Downspouts
Inspect your gutters and downspouts for signs of damage or blockages. Clear out debris to ensure proper drainage and prevent water from backing onto your roof. Consider installing gutter guards to minimize maintenance and protect your roof from debris buildup.
Ensure Your Roof’s Longevity
Regular roof inspections are crucial for maintaining the integrity of your home and preventing costly repairs. By following these DIY inspection tips, you can promptly identify potential issues and address them. Remember to prioritize safety and seek professional help for repairs beyond your expertise. Keep your roof in top condition to protect your investment and enjoy peace of mind knowing your home is well-protected.